Nuxt3 的生命周期和钩子函数(四)


扫码关注或者微信搜一搜:编程智域 前端至全栈交流与成长
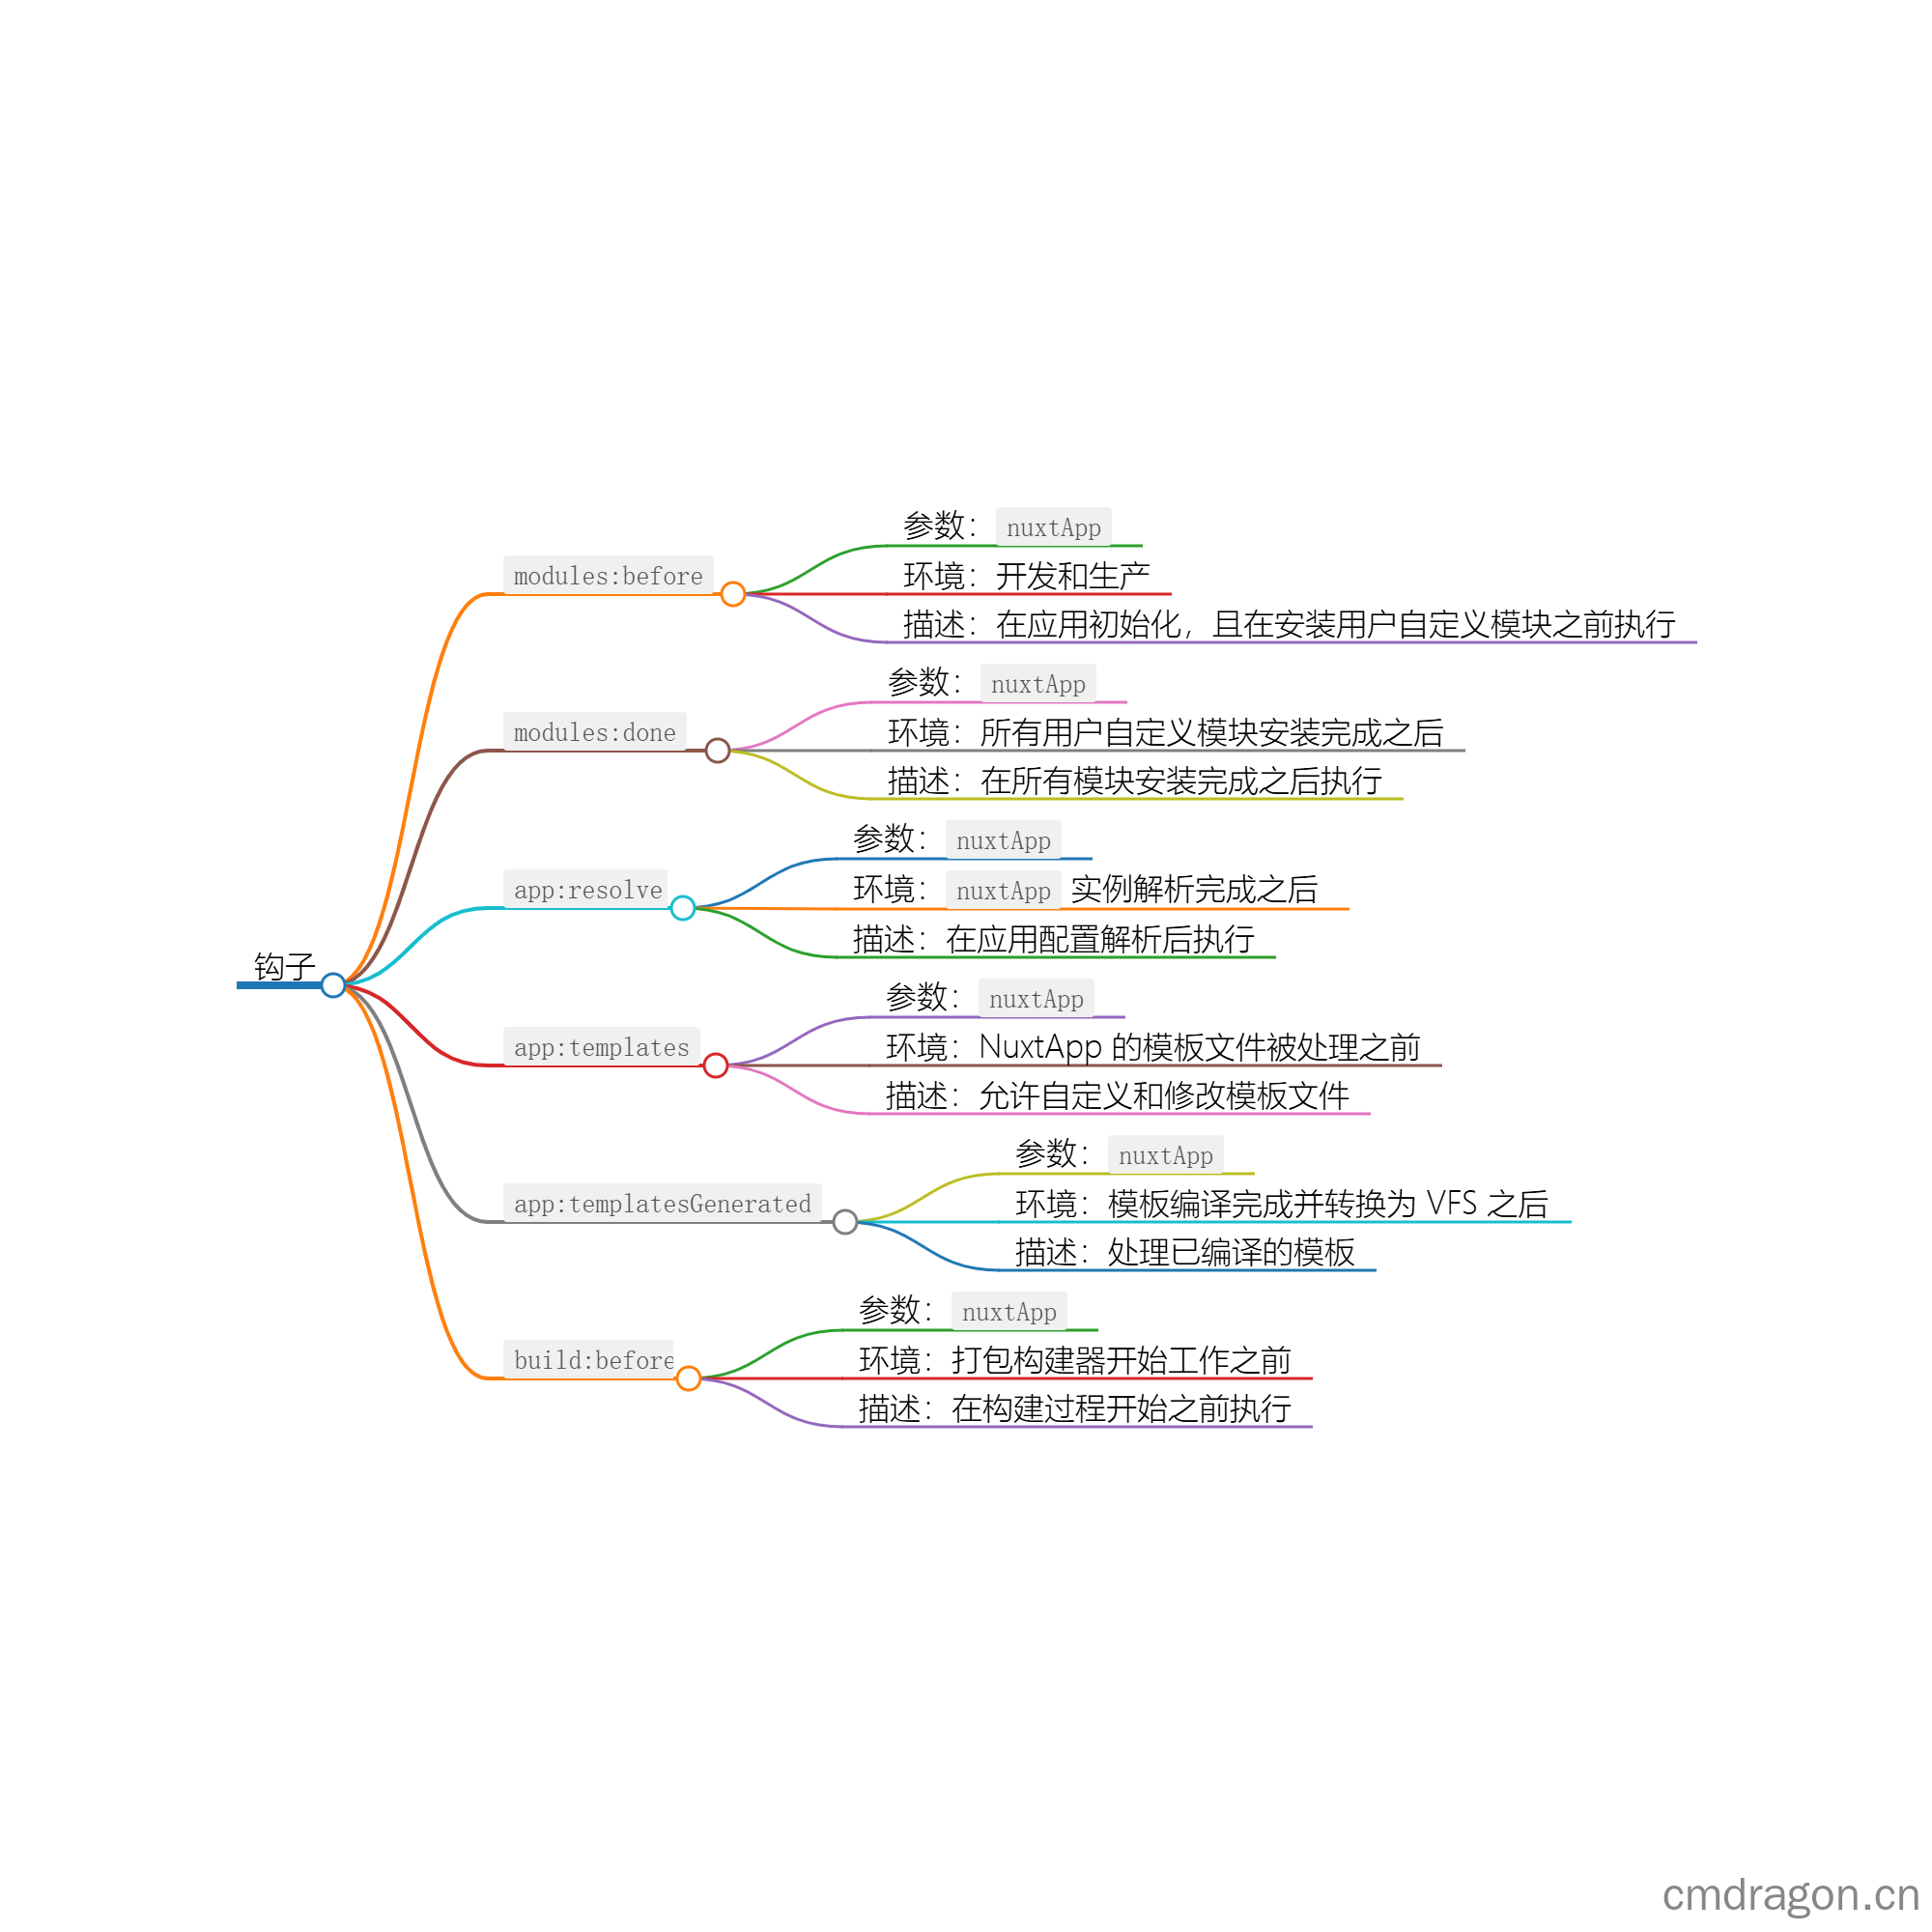
钩子:modules:before
参数:
- nuxtApp: Nuxt 应用实例,提供核心 API 和应用配置访问。
环境:
- 开发环境 (dev)
- 生产环境 (prod)
描述: modules:before 是 Nuxt.js 中的一个生命周期钩子,它在应用初始化阶段,且在安装用户自定义模块之前被调用。这个钩子允许开发者在模块安装前执行一些全局设置、数据准备或者进行必要的配置检查。
详细解释:
用法示例
要使用 modules:before,你需要创建一个 Nuxt 插件(plugins文件夹内),并使用defineNuxtPlugin 函数来定义这个钩子:
1 | // plugins/my-plugin.js |
案例演示
下面是一个简单的案例,展示了如何在 modules:before 钩子中执行一些操作:
1 | // plugins/my-plugin.js |
在这个案例中,modules:before 钩子确保了全局变量的存在,触发了一个自定义事件,并根据环境提供不同的提示。这有助于确保模块安装前应用的状态是正确的。
钩子:modules:done
参数:
nuxtApp: Nuxt.js 应用实例,提供了与应用交互的接口。
环境:
- Nuxt.js 初始化阶段
- 在所有用户自定义模块(plugins 或 custom modules)安装并初始化后
描述:
modules:done 是 Nuxt.js 的生命周期钩子之一,它在所有模块(包括用户定义的模块和第三方模块)安装完成之后被调用。这个钩子允许开发者在所有模块都已经设置好之后执行一些后续操作,例如初始化某些功能或执行跨模块的检查。
详细解释与用法实例:
在 Nuxt 3 中,插件可以通过 defineNuxtPlugin 函数定义,并在其中使用 nuxtApp 实例的 $on 方法来监听 modules:done 钩子。以下是一个使用该钩子的插件示例:
1 | // plugins/my-plugin.js |
实战案例demo:
以下是一个实战案例,其中我们使用 modules:done 钩子来确保所有模块加载完成后,执行一个检查所有模块是否正确配置的函数。
1 | // plugins/check-modules.js |
在这个案例中,我们定义了一个必须加载的模块列表 requiredModules,然后在 modules:done 钩子中检查这些模块是否已经加载。如果有缺失的模块,我们会在控制台中打印错误消息;如果所有模块都已加载,我们将执行一些初始化操作,例如调用一个API来初始化应用程序。
钩子:app:resolve
参数:
nuxtApp: Nuxt.js 应用实例,包含了应用的核心配置和功能。
环境:
- Nuxt.js 初始化阶段
- 在
nuxtApp实例解析完成之后调用
描述:
app:resolve 是 Nuxt.js 的一个生命周期钩子,它在 Nuxt 应用实例解析完成,但可能还未完全初始化之前被调用。这个钩子适合在应用的配置被解析后执行一些操作,比如修改默认配置、添加全局中间件等。
详细解释与用法实例:
在 Nuxt 3 中,你可以使用 defineNuxtPlugin 函数定义插件,并在 app:resolve 钩子中进行配置修改。以下是一个简单的例子:
1 | // plugins/my-plugin.js |
实战案例demo:
在以下案例中,我们使用 app:resolve 钩子来添加一个全局的全局头部组件和修改路由守卫:
1 | // plugins/global-config.js |
在这个例子中,当 Nuxt 应用解析时,会自动添加全局头部组件 global-header.vue,并在所有路由跳转前执行我们自定义的路由守卫。这在全局配置或者需要在所有页面共享的逻辑中非常有用。
钩子:app:templates
参数:
nuxtApp: Nuxt.js 应用实例,包含了应用的核心配置和功能。
环境:
- Nuxt.js 应用生成过程中
- 在 NuxtApp 的模板文件被处理之前调用
描述:
app:templates 是 Nuxt.js 的一个生命周期钩子,它允许开发者在 Nuxt 应用生成过程中自定义、修改或添加新的文件到构建目录。这个钩子可以用来添加自定义的模板文件,或者根据项目需求修改现有的模板。
详细解释与用法实例:
使用 app:templates 钩子,你可以访问和修改 Nuxt 应用的模板文件。以下是一个如何使用这个钩子的例子:
1 | // plugins/custom-templates.js |
在这个例子中,我们修改了 index.html 模板文件中的 <title> 标签,并添加了一个名为 custom-template.html 的新模板文件。
实战案例demo:
以下是一个实战案例,展示如何使用 app:templates 钩子来为 Nuxt 应用添加一个自定义的布局文件:
1 | // plugins/add-layout.js |
在这个案例中,我们通过 app:templates 钩子添加了一个自定义的布局文件 custom.vue。这个布局文件可以在 Nuxt 应用的任何页面中使用,为页面提供一个带有特定样式和结构的容器。通过这种方式,你可以轻松地为你的 Nuxt 应用添加全局样式或结构,而不需要修改每个页面。
钩子:app:templatesGenerated
参数:
nuxtApp: Nuxt.js 应用实例,包含了编译后的模板和相关配置。
环境:
- Nuxt.js 应用编译阶段
- 在模板编译到虚拟文件系统(Virtual File System, VFS)之后
描述:
app:templatesGenerated 是 Nuxt.js 的一个生命周期钩子,它在模板编译完成并转换为虚拟文件系统(VFS)后被调用。这个钩子可以用来处理编译后的模板,比如修改、重命名、或根据需要进行进一步的处理。
详细解释与用法实例:
1 | // plugins/modify-templates.js |
在这个例子中,我们使用 app:templatesGenerated 钩子,将名为 old-template.html 的模板文件重命名为 new-template.html,并修改了 index.html 中的 <title> 标签。
实战案例demo:
假设你想要根据用户的登录状态动态地添加或移除模板中的某些部分:
1 | // plugins/conditional-templates.js |
在这个案例中,我们检查用户是否登录,如果登录,就添加一个包含欢迎信息的 footer.html 模板;否则,删除这个模板。这样,根据用户的登录状态,应用的布局会有所不同。
请注意,这些操作通常需要确保在模板编译和渲染之前进行,以确保模板的正确性和一致性。
钩子:build:before
参数:
nuxtApp: Nuxt.js 应用实例,包含了应用的配置和插件。
环境:
- Nuxt.js 应用构建阶段
- 在打包构建器开始工作之前
描述:
build:before 是 Nuxt.js 的一个生命周期钩子,它在 Nuxt 的打包构建器开始工作之前被调用。这个钩子可以用来执行一些在构建过程开始之前需要的操作,比如清理构建目录、设置环境变量或者修改构建配置。
详细解释与用法实例:
1 | // plugins/build:before.js |
在这个例子中,我们使用 build:before 钩子来在构建过程开始之前清理 dist 目录。
实战案例demo:
假设你想要在构建前根据环境变量来调整构建配置:
1 | // plugins/configure-build.js |
在这个案例中,我们根据环境变量 BUILD_MODE 的值来调整 Nuxt 应用的构建优化配置。这样做可以根据不同的部署环境来优化构建结果,例如在开发环境中启用更多的调试信息,而在生产环境中启用更严格的优化策略。
使用这些钩子时,需要确保不会对构建过程造成负面影响,比如不要在构建过程中执行耗时的操作。
往期文章归档:
- Nuxt3 的生命周期和钩子函数(三) | cmdragon’s Blog
- Nuxt3 的生命周期和钩子函数(二) | cmdragon’s Blog
- Nuxt3 的生命周期和钩子函数(一) | cmdragon’s Blog
- 初学者必读:如何使用 Nuxt 中间件简化网站开发 | cmdragon’s Blog
- 深入探索 Nuxt3 Composables:掌握目录架构与内置API的高效应用 | cmdragon’s Blog
- 掌握 Nuxt 3 中的状态管理:实践指南 | cmdragon’s Blog
- Nuxt 3 路由系统详解:配置与实践指南 | cmdragon’s Blog
- Nuxt 3组件开发与管理 | cmdragon’s Blog
- Nuxt3页面开发实战探索 | cmdragon’s Blog
- Nuxt.js 深入浅出:目录结构与文件组织详解 | cmdragon’s Blog
- 安装 Nuxt.js 的步骤和注意事项 | cmdragon’s Blog
- 探索Web Components | cmdragon’s Blog
- Vue微前端架构与Qiankun实践理论指南 | cmdragon’s Blog
