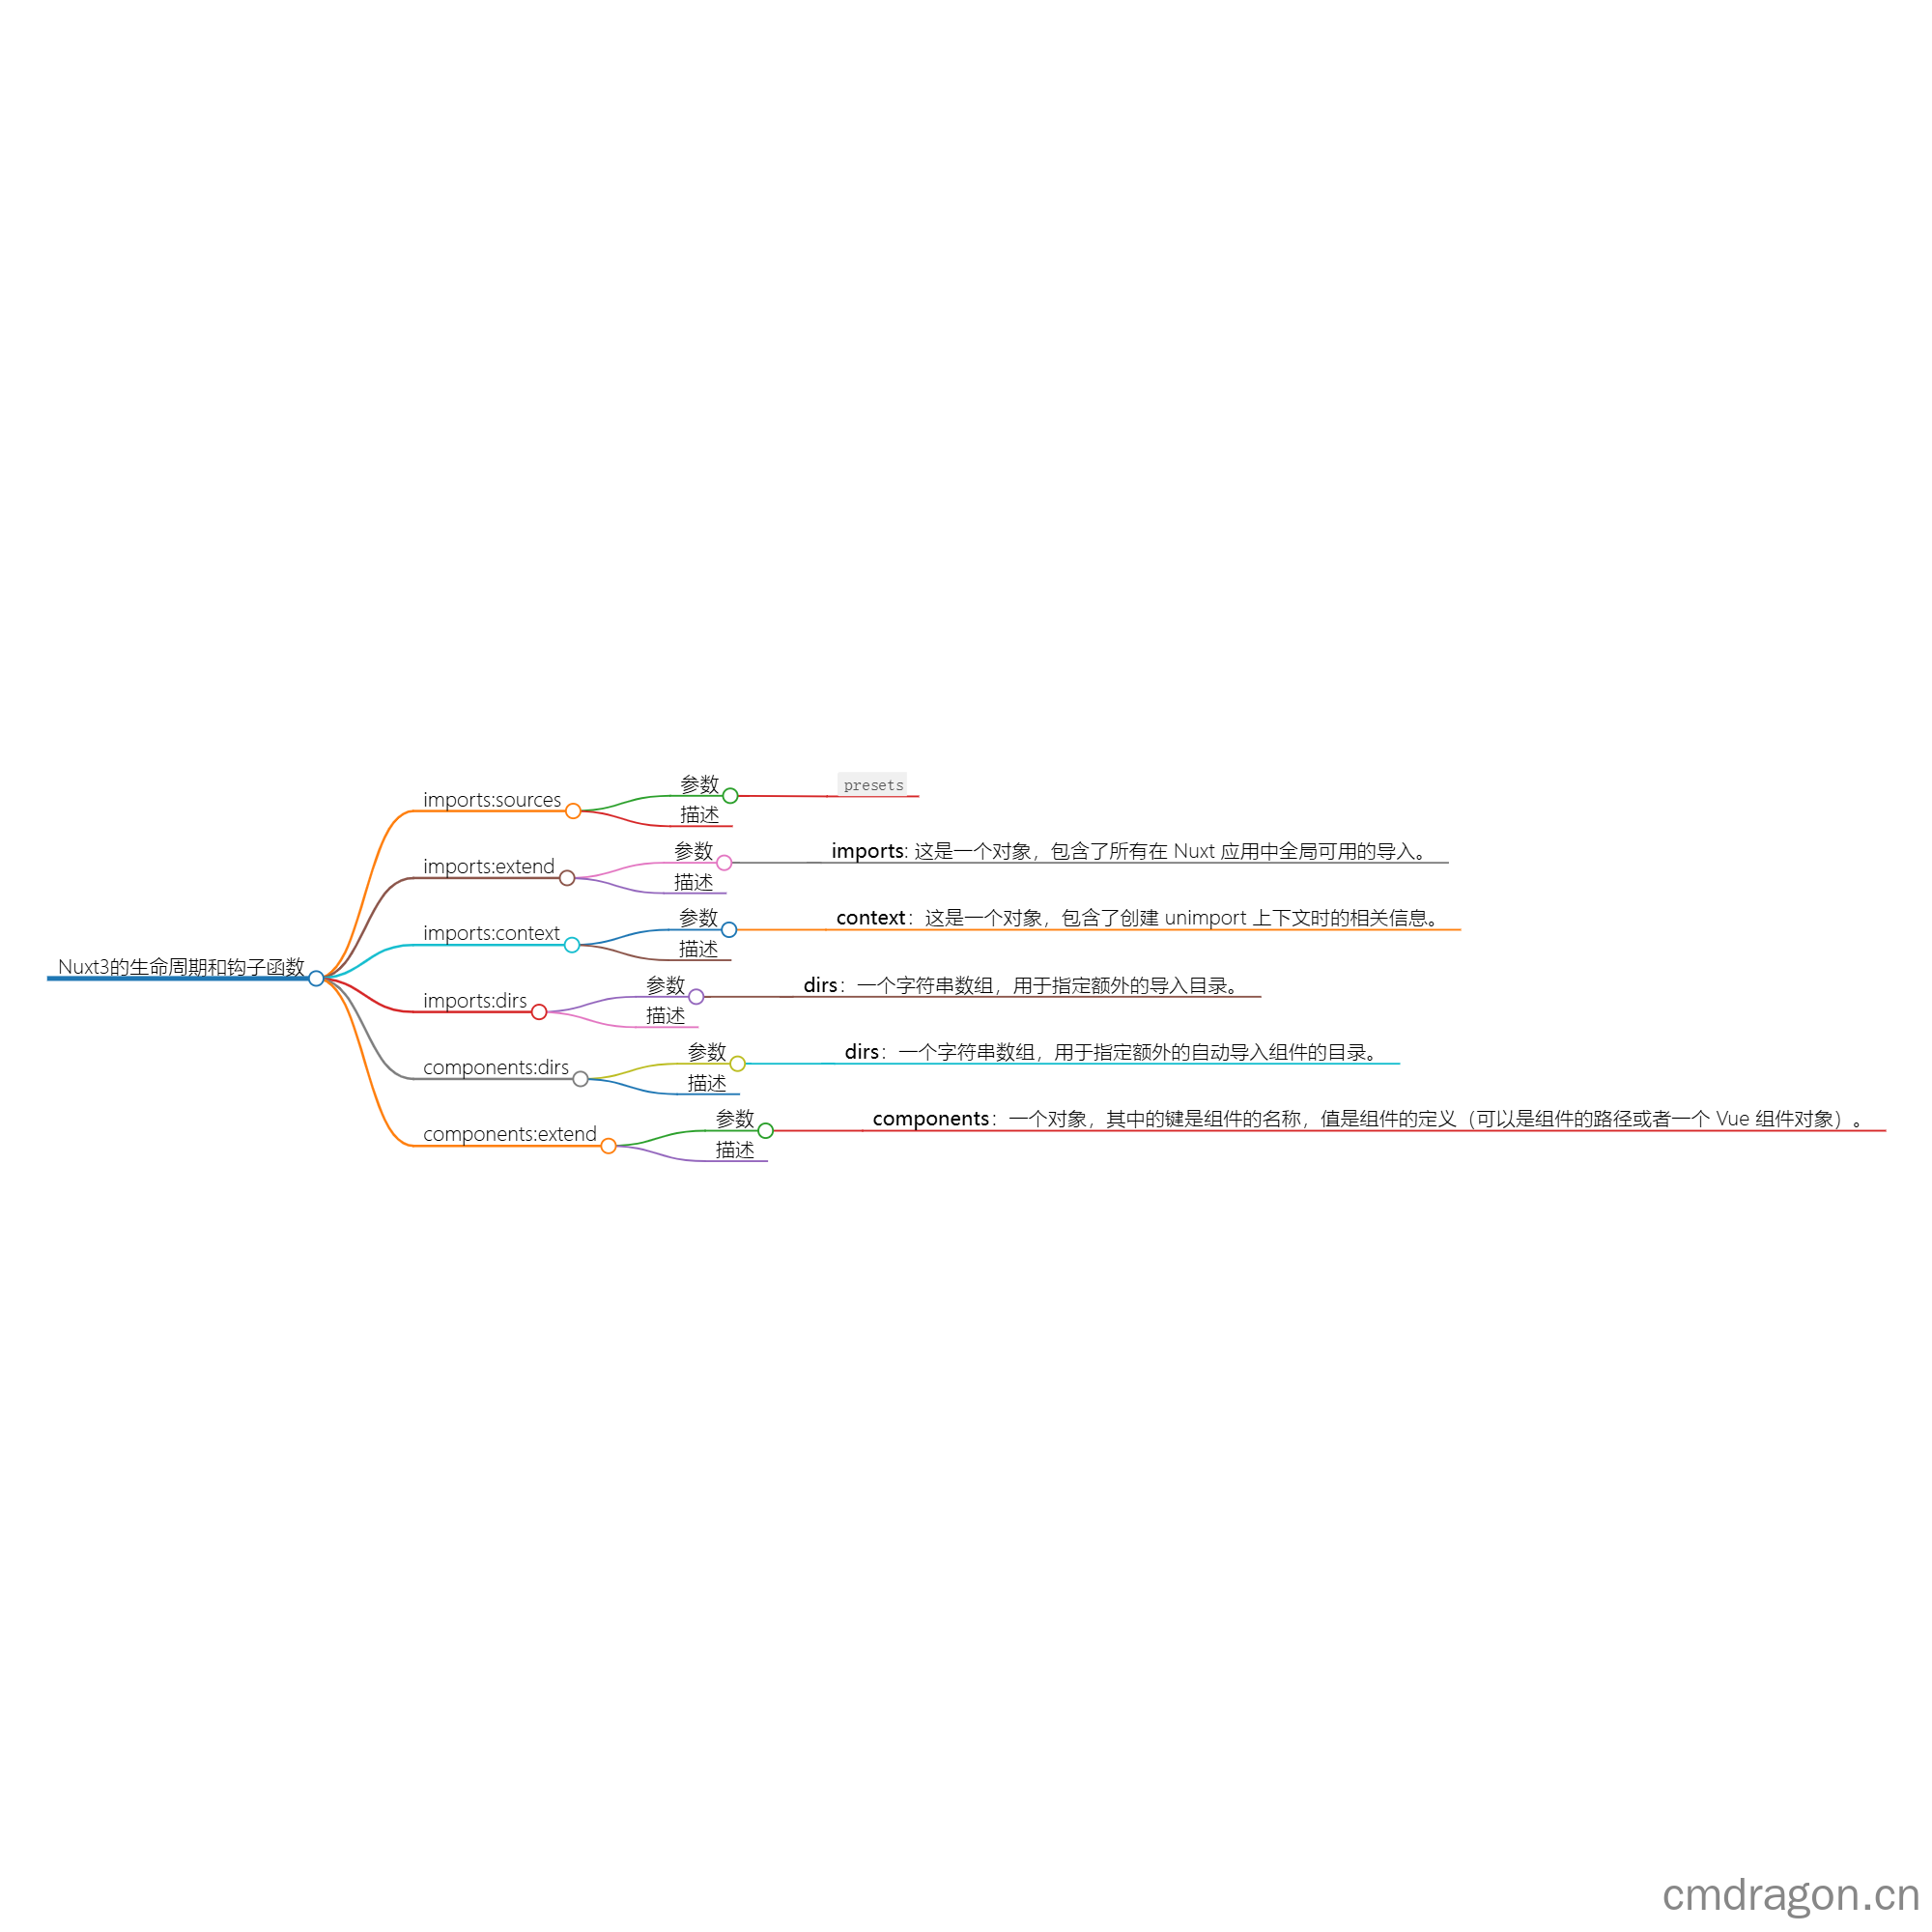
Nuxt3 的生命周期和钩子函数(六)


扫码关注或者微信搜一搜:编程智域 前端至全栈交流与成长
imports:sources
参数
presets
描述
imports:sources 是 Nuxt 3 提供的一个钩子函数,在 Nuxt 应用的设置过程中被调用。它允许模块扩展导入源,使得模块可以添加自定义的导入路径,这些路径下的组件、工具函数等可以在 Nuxt 应用中全局导入。presets 参数是一个数组,包含了预定义的导入源配置集合,模块可以通过这个参数来添加或修改导入源。
详细用法解释和完整demo示例
以下是如何在 Nuxt 3 插件中使用 imports:sources 钩子的详细解释和完整示例:
步骤 1: 创建插件文件
在 Nuxt 3 项目的 plugins 目录下创建一个新的插件文件,例如 custom-imports.js。
步骤 2: 编写插件代码
在 custom-imports.js 文件中,使用 defineNuxtPlugin 函数定义插件,并在插件中使用 imports:sources 钩子:
1 | // plugins/custom-imports.js |
步骤 3: 注册插件
在 nuxt.config.ts 或 nuxt.config.js 文件中注册这个插件:
1 | // nuxt.config.ts 或 nuxt.config.js |
完整demo示例
以下是一个完整的示例,展示了如何在 Nuxt 3 应用中使用 imports:sources 钩子来添加自定义导入源预设:
1 | // plugins/custom-imports.js |
现在,你可以在 Nuxt 应用中的任何组件或页面中通过 @custom/xxx 的方式导入 composables 目录下的内容,前提是在你的代码中已经定义了相应的 @custom 别名。
imports:extend
参数
- imports: 这是一个对象,包含了所有在 Nuxt 应用中全局可用的导入。
详细描述
imports:extend 钩子是 Nuxt.js 提供的一个扩展机制,它允许插件或模块向 Nuxt 应用的全局范围内添加额外的导入。这意味着,你可以在任何组件、页面或 Nuxt 插件中访问这些导入,而不需要重复导入它们。
当 Nuxt 应用启动时,Nuxt 会自动调用 imports:extend 钩子,并且传递一个包含当前全局导入的对象给这个钩子。插件或模块可以修改这个对象,添加新的属性,从而使得新的导入在整个应用中可用。
使用场景
这个钩子特别有用,当你想要:
- 在全局范围内添加自定义函数或方法。
- 将第三方库或模块注册为全局变量,以便在应用的任何部分都可以方便地使用。
- 为 Nuxt 应用提供全局的辅助函数或工具。
Demo
以下是如何在插件中使用 imports:extend 钩子的详细示例:
1 | // plugins/my-plugin.js |
在这个例子中,我们定义了一个插件 my-plugin.js,它通过 imports:extend 钩子向 Nuxt 应用的全局导入中添加了一个自定义函数 myCustomFunction 和一个第三方库 someLib,以及一个自定义模块 myCustomModule。之后,在应用的任何组件或页面中,我们都可以直接使用这些全局导入,而不需要单独导入它们。
通过这种方式,imports:extend 钩子极大地简化了在 Nuxt 应用中共享和重用代码的过程。
imports:context
参数
- context:这是一个对象,包含了创建 unimport 上下文时的相关信息。
详细描述
imports:context 钩子在创建 unimport 上下文时被调用。这个钩子提供了一个机会,让插件或模块能够访问和修改 unimport 上下文。通过这个钩子,你可以对模块的导入和卸载进行更精细的控制。
具体来说,context 对象包含了以下重要信息:
imports:一个数组,用于存储要导入的模块路径。unimports:一个数组,用于存储要卸载的模块路径。
你可以在钩子函数中根据具体的需求,对 imports 和 unimports 数组进行操作,例如:
- 添加或移除模块路径。
- 根据条件动态地决定是否导入或卸载特定模块。
这样,你可以根据应用的不同状态或用户的操作,灵活地管理模块的导入和卸载,以优化性能、减少不必要的资源加载或实现特定的功能。
Demo
以下是一个更详细的示例,展示如何在插件中使用 imports:context 钩子:
1 | // plugins/my-plugin.js |
在这个示例中,我们根据当前路由路径来决定是否导入特定的功能模块。如果当前页面是 /specific-page,则将 featureModule 添加到导入列表中。同时,我们还监听了路由变化事件,根据新的路由路径动态地添加或移除模块。
这样,通过使用 imports:context 钩子,我们可以根据应用的具体情况,灵活地控制模块的导入和卸载,以实现更好的性能和用户体验。
imports:dirs
参数
- dirs:一个字符串数组,用于指定额外的导入目录。
详细描述
imports:dirs 钩子允许你扩展 Nuxt 项目的导入目录。这意味着你可以指定额外的目录,使得这些目录中的模块可以被 Nuxt 项目导入和使用。这对于组织代码、分离关注点或重用代码片段非常有用。
当你在 Nuxt 应用中使用 import 或 require 语句时,Nuxt 会首先在默认的导入目录中查找模块。通过使用 imports:dirs 钩子,你可以添加自定义的目录到搜索路径中,使得这些目录中的模块也可以被导入。
Demo
以下是一个示例,展示如何在插件中使用 imports:dirs 钩子:
1 | // plugins/extend-imports.js |
在这个示例中,我们通过 imports:dirs 钩子添加了两个自定义的导入目录。此外,我们还根据环境变量 DEBUG_MODE 的值,有条件地添加了一个额外的调试目录。
这样配置后,你就可以在 Nuxt 应用中直接导入这些目录下的模块,而不需要指定完整的路径。例如,如果你有一个模块位于 path/to/custom/directory 下的 myModule.js,你现在可以这样导入它:
1 | import myModule from 'myModule'; |
而不需要这样:
1 | import myModule from 'path/to/custom/directory/myModule'; |
通过这种方式,imports:dirs 钩子使得模块导入更加灵活和方便,有助于维护一个清晰和模块化的项目结构。
components:dirs
参数
- dirs:一个字符串数组,用于指定额外的自动导入组件的目录。
详细描述
components:dirs 钩子在 app:resolve 阶段被调用,它允许你扩展 Nuxt 应用自动导入组件的目录。这意味着你可以指定额外的目录,使得这些目录中的组件可以被 Nuxt 自动识别和导入。
当 Nuxt 应用启动时,它会扫描默认的组件目录以及通过 components:dirs 钩子指定的目录,查找符合条件的组件。这些组件可以在模板中直接使用,而无需手动导入。
通过使用 components:dirs 钩子,你可以更好地组织和管理组件,将它们分组到不同的目录中,提高代码的可读性和可维护性。
Demo
以下是一个示例,展示如何在插件中使用 components:dirs 钩子:
1 | // plugins/extend-components.js |
在这个示例中,我们通过 components:dirs 钩子添加了两个自定义的组件目录。此外,我们还根据环境变量 DEBUG_MODE 的值,有条件地添加了一个额外的调试组件目录。
这样配置后,Nuxt 应用将自动扫描这些目录中的组件,并在模板中直接使用它们。例如,如果你有一个组件位于 path/to/custom/components 下的 MyComponent.vue,你现在可以在模板中这样使用它:
1 | <MyComponent /> |
而不需要这样:
1 | <template> |
通过这种方式,components:dirs 钩子使得组件的使用更加方便和简洁,有助于提高开发效率。
components:extend
参数
- components:一个对象,其中的键是组件的名称,值是组件的定义(可以是组件的路径或者一个 Vue 组件对象)。
详细描述
components:extend 钩子允许你在 Nuxt 应用中扩展新的组件。这意味着你可以在运行时动态地注册额外的组件,使得它们可以在整个应用中被使用。这个钩子特别有用,当你需要在不修改现有代码结构的情况下,添加第三方组件库或自定义组件时。
通过 components:extend 钩子注册的组件,可以在 Nuxt 的页面和组件中像内置组件一样使用,无需额外的导入步骤。
Demo
以下是一个示例,展示如何在插件中使用 components:extend 钩子:
1 | // plugins/register-components.js |
在这个示例中,我们通过 components:extend 钩子注册了两个新组件。第一个是自定义组件 MyCustomComponent,它直接在钩子函数中定义。第二个是第三方库中的组件 ThirdPartyComponent,它通过引入第三方库的模块并解构出相应的组件对象来注册。
注册完成后,你可以在 Nuxt 应用的任何地方像使用内置组件一样使用这些新组件:
1 | <template> |
这样,components:extend 钩子使得添加和使用新的组件变得非常灵活和方便。
往期文章归档:
- Nuxt3 的生命周期和钩子函数(五) | cmdragon’s Blog
- Nuxt3 的生命周期和钩子函数(四) | cmdragon’s Blog
- Nuxt3 的生命周期和钩子函数(三) | cmdragon’s Blog
- Nuxt3 的生命周期和钩子函数(二) | cmdragon’s Blog
- Nuxt3 的生命周期和钩子函数(一) | cmdragon’s Blog
- 初学者必读:如何使用 Nuxt 中间件简化网站开发 | cmdragon’s Blog
- 深入探索 Nuxt3 Composables:掌握目录架构与内置API的高效应用 | cmdragon’s Blog
- 掌握 Nuxt 3 中的状态管理:实践指南 | cmdragon’s Blog
- Nuxt 3 路由系统详解:配置与实践指南 | cmdragon’s Blog
- Nuxt 3组件开发与管理 | cmdragon’s Blog
- Nuxt3页面开发实战探索 | cmdragon’s Blog
- Nuxt.js 深入浅出:目录结构与文件组织详解 | cmdragon’s Blog
- 安装 Nuxt.js 的步骤和注意事项 | cmdragon’s Blog
