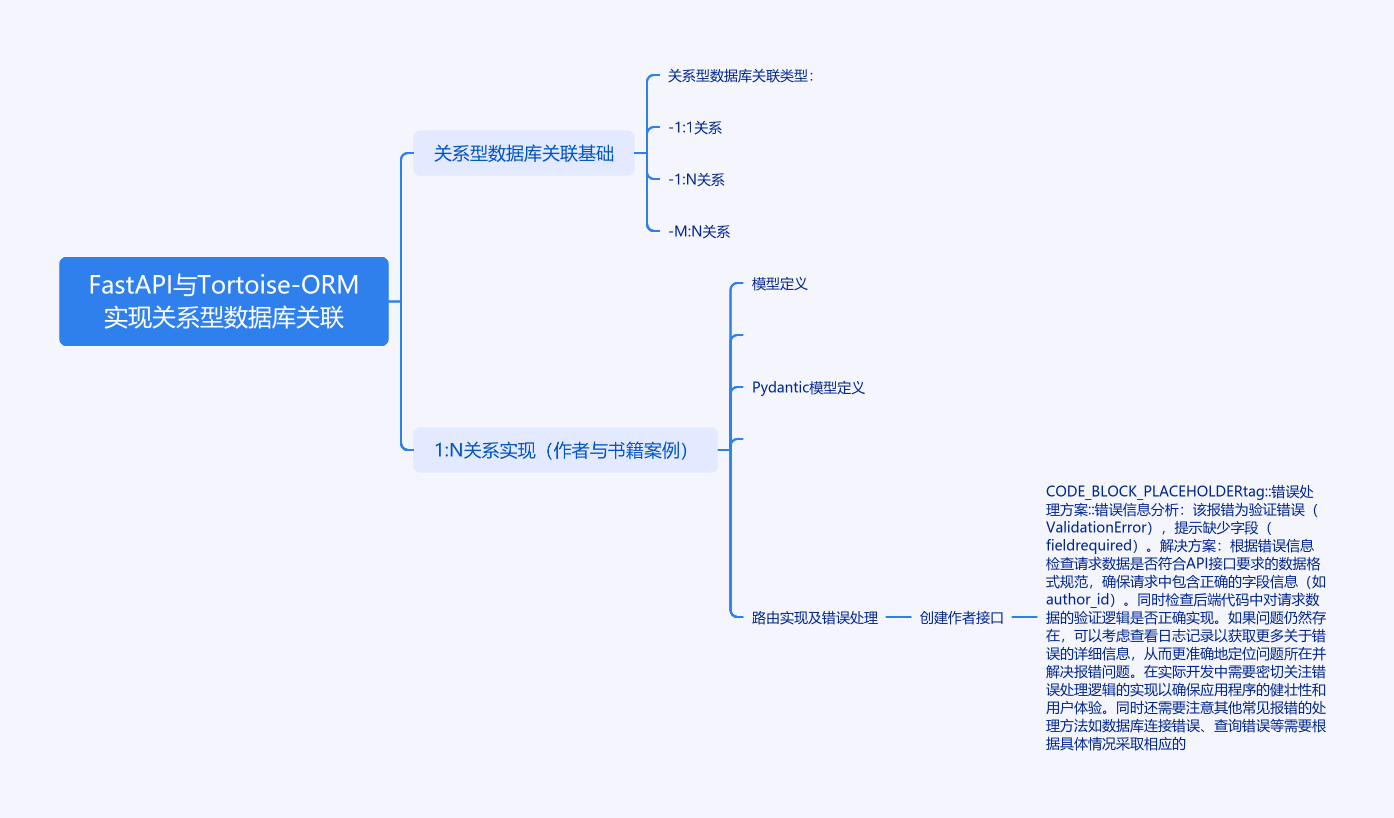
FastAPI与Tortoise-ORM实现关系型数据库关联


扫描二维码关注或者微信搜一搜:编程智域 前端至全栈交流与成长
一、FastAPI与Tortoise-ORM关系型数据库关联实现
1. 关系型数据库关联基础
在关系型数据库中,表与表之间的关联主要分为三种类型:
- 1:1关系(如用户与身份证)
- 1:N关系(如作者与书籍)
- M:N关系(如学生与课程)
FastAPI通过Tortoise-ORM实现异步数据库操作时,使用ForeignKeyField和ManyToManyField
字段类型处理关联关系。相比同步ORM,异步实现需要特别注意await的使用和查询优化。
2. 1:N关系实现(作者与书籍案例)
2.1 模型定义
1 | # models.py |
2.2 Pydantic模型
1 | # schemas.py |
2.3 路由实现
1 | # main.py |
3. M:N关系实现(学生与课程案例)
3.1 模型定义
1 | # models.py |
3.2 中间表操作
1 | # 添加选课关系 |
3.3 复杂查询示例
1 | # 查询选修数学课的学生 |
4. 课后Quiz
Q1:当建立1:N关系时,为什么要使用prefetch_related()方法?
A. 提高查询性能
B. 避免循环引用
C. 处理分页请求
D. 验证数据格式
正确答案:A
解析:prefetch_related()用于预加载关联数据,通过单次数据库查询获取所有相关记录,避免N+1查询问题,显著提升查询效率。
Q2:M:N关系中,through参数的作用是什么?
A. 定义中间表名称
B. 指定关联字段类型
C. 设置级联删除规则
D. 声明索引字段
正确答案:A
解析:through参数用于自定义中间表名称,当需要向中间表添加额外字段时,可以显式创建中间模型。
5. 常见报错解决方案
报错1:422 Validation Error
1 | { |
解决方法:
- 检查请求体数据格式是否符合JSON规范
- 确认字段类型与Pydantic模型定义一致
- 使用try/except捕获类型转换异常
报错2:IntegrityError外键约束失败
1 | sqlite3.IntegrityError: FOREIGN KEY constraint failed |
解决方法:
- 检查关联ID是否存在
- 确认数据库事务完整性
- 使用atomic()包裹关联操作:
1 | async with in_transaction(): |
预防建议:
- 始终在数据库操作中使用事务
- 为关联字段添加索引
- 使用select_related和prefetch_related优化查询
运行准备
安装依赖:
1 | pip install fastapi uvicorn tortoise-orm pydantic |
启动服务:
1 | uvicorn main:app --reload |
通过以上实现,开发者可以完整掌握FastAPI中异步数据库关联操作的核心要点。建议在Postman中测试接口时,重点关注关联数据的完整性和查询效率表现。
余下文章内容请点击跳转至 个人博客页面 或者 扫码关注或者微信搜一搜:编程智域 前端至全栈交流与成长,阅读完整的文章:
往期文章归档:
- Tortoise-ORM与FastAPI集成:异步模型定义与实践 | cmdragon’s Blog
- 异步编程与Tortoise-ORM框架 | cmdragon’s Blog
- FastAPI数据库集成与事务管理 | cmdragon’s Blog
- FastAPI与SQLAlchemy数据库集成 | cmdragon’s Blog
- FastAPI与SQLAlchemy数据库集成与CRUD操作 | cmdragon’s Blog
- FastAPI与SQLAlchemy同步数据库集成 | cmdragon’s Blog
- SQLAlchemy 核心概念与同步引擎配置详解 | cmdragon’s Blog
- FastAPI依赖注入性能优化策略 | cmdragon’s Blog
- FastAPI安全认证中的依赖组合 | cmdragon’s Blog
- FastAPI依赖注入系统及调试技巧 | cmdragon’s Blog
- FastAPI依赖覆盖与测试环境模拟 | cmdragon’s Blog
- FastAPI中的依赖注入与数据库事务管理 | cmdragon’s Blog
- FastAPI依赖注入实践:工厂模式与实例复用的优化策略 | cmdragon’s Blog
- FastAPI依赖注入:链式调用与多级参数传递 | cmdragon’s Blog
- FastAPI依赖注入:从基础概念到应用 | cmdragon’s Blog
- FastAPI中实现动态条件必填字段的实践 | cmdragon’s Blog
- FastAPI中Pydantic异步分布式唯一性校验 | cmdragon’s Blog
- 掌握FastAPI与Pydantic的跨字段验证技巧 | cmdragon’s Blog
- FastAPI中的Pydantic密码验证机制与实现 | cmdragon’s Blog
- 深入掌握FastAPI与OpenAPI规范的高级适配技巧 | cmdragon’s Blog
- Pydantic字段元数据指南:从基础到企业级文档增强 | cmdragon’s Blog
- Pydantic Schema生成指南:自定义JSON Schema | cmdragon’s Blog
- Pydantic递归模型深度校验36计:从无限嵌套到亿级数据的优化法则 | cmdragon’s Blog
- Pydantic异步校验器深:构建高并发验证系统 | cmdragon’s Blog
- Pydantic根校验器:构建跨字段验证系统 | cmdragon’s Blog
- Pydantic配置继承抽象基类模式 | cmdragon’s Blog
- Pydantic多态模型:用鉴别器构建类型安全的API接口 | cmdragon’s Blog
- FastAPI性能优化指南:参数解析与惰性加载 | cmdragon’s Blog
- FastAPI依赖注入:参数共享与逻辑复用 | cmdragon’s Blog
- FastAPI安全防护指南:构建坚不可摧的参数处理体系 | cmdragon’s Blog
- FastAPI复杂查询终极指南:告别if-else的现代化过滤架构 | cmdragon’s Blog
- FastAPI 核心机制:分页参数的实现与最佳实践 | cmdragon’s Blog
- FastAPI 错误处理与自定义错误消息完全指南:构建健壮的 API 应用 🛠️ | cmdragon’s Blog
- FastAPI 自定义参数验证器完全指南:从基础到高级实战 | cmdragon’s Blog
